Add an Image (Possible Answer)
-
To insert an image (a possible
answer), double-click an image box.
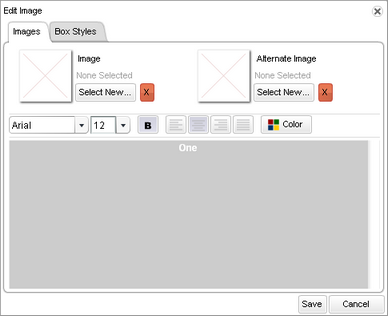
The Edit Image window appears.
-
On the Images tab, complete the steps below.
-
In the Image section, click the
Select
New button.
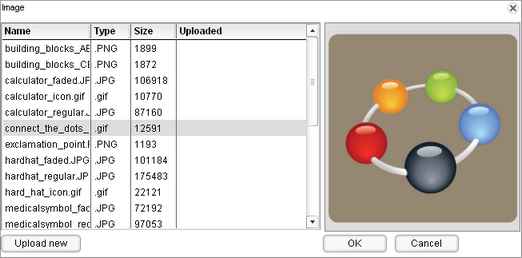
The Image window displays.
- If the image you want to display is listed on the Image window, select it and click OK.
- If the image you want to display is not
listed on the Image window, click Upload New
and browse to select the file. Once the file is listed on the
Image window, click OK. The selected image displays in the image
box.
-
In the Image section, click the
Select
New button.
-
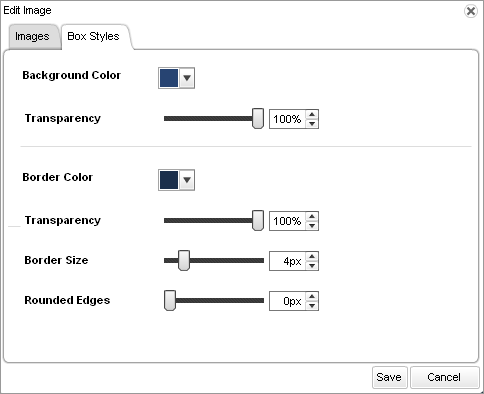
Go to the
Box Styles
tab.